
CD or DVD Stuck in a Mac USB SuperDrive? Try This
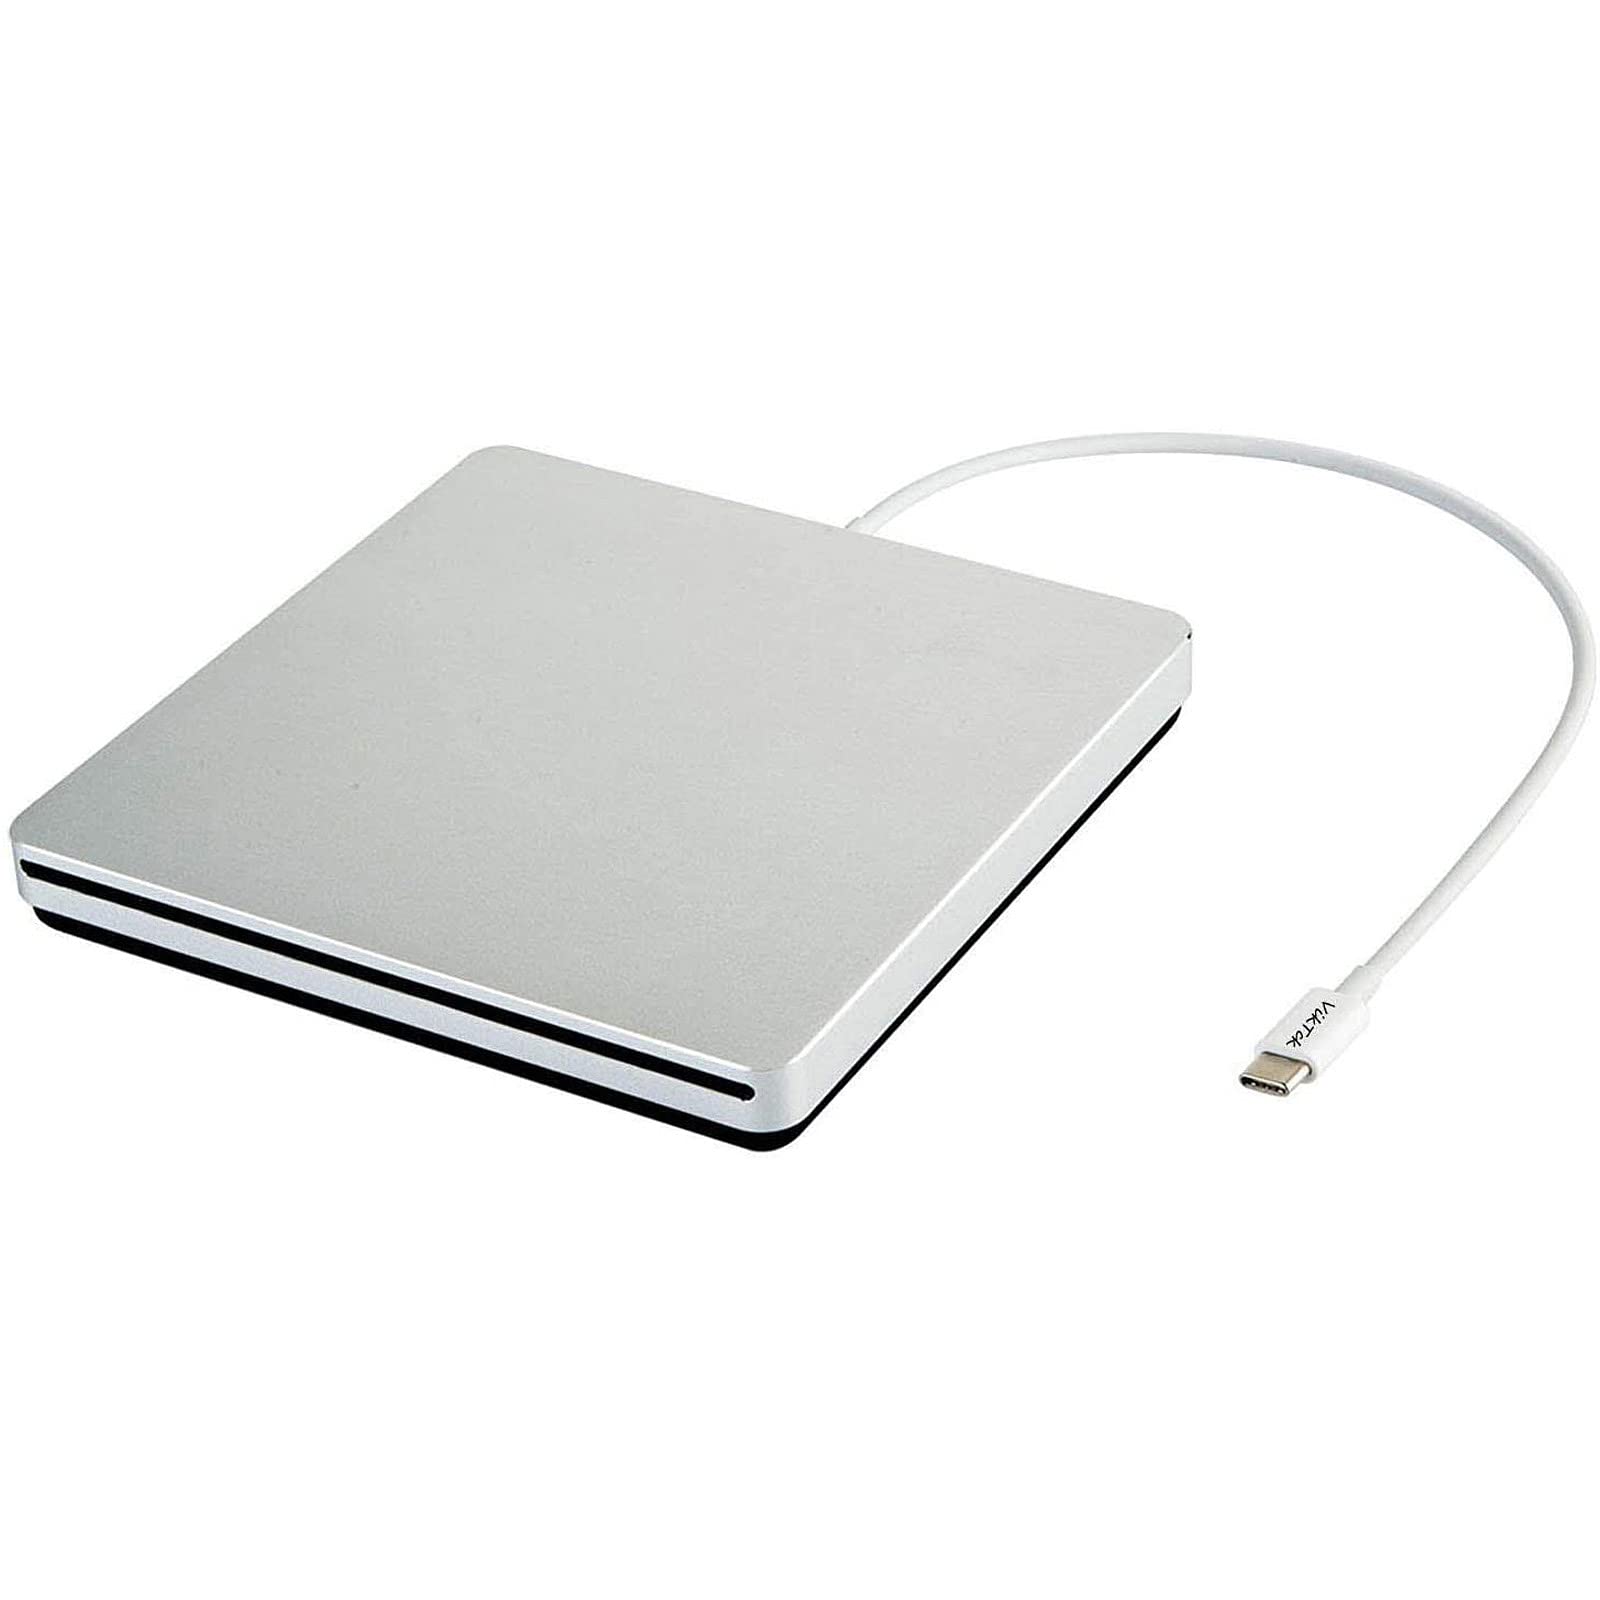
Use these safe Mac eject methods in order to recover a stubborn disc without pulling, prying, or poking the SuperDrive.
First, do not force the disc
A disc that refuses to come out can make a perfectly calm person reach for tweezers. Please resist that urge. Apple’s USB SuperDrive is a slot-loading drive, so there is no tray to pull open and no manual-eject hole to poke.
Leave the SuperDrive connected while you work through the methods below. Put it flat on a steady surface. Start with the gentlest eject command, then move to the stronger options only if needed.
- Place the USB SuperDrive flat on a firm surface with its disc slot unobstructed.
- Remove any object resting on the SuperDrive.
- Check that the SuperDrive’s cable is firmly connected to your Mac or its compatible adapter.
Try the normal Mac eject methods
macOS may show the inserted CD or DVD in more than one place. These methods all send a normal software eject request, so it is safe to try each one.
Wait several seconds after every attempt. A SuperDrive often makes a brief whirring sound before it releases the disc.
- Press the Eject key, marked ⏏, once if your keyboard has one.
- Open Finder by clicking the blue smiling-face icon in the Dock.
- Find the disc under Locations in the left sidebar of the Finder window.
- Click the small Eject symbol beside the disc’s name.
- Click the disc icon on the desktop once if it appears there.
- Choose File from the menu bar at the top of the screen.
- Choose Eject from the File menu.
Add an Eject button to the menu bar
The menu bar is the strip across the very top of the Mac screen. Apple lets you place an Eject control there while an optical drive is connected.
The exact route into this setting can differ by macOS version. On current versions, the reliable approach is to search inside System Settings. If the SuperDrive is not connected, the CDs & DVDs settings may not appear.
- Open System Settings from the Apple menu in the top-left corner.
- Type CDs & DVDs into the System Settings search box.
- Open the matching CDs & DVDs setting.
- Turn on Show eject in menu bar.
- Click the Eject icon that appears near the top-right corner of the screen.
- Choose the inserted disc or SuperDrive if a list appears.
Close anything that may be using the disc
A Mac can refuse to eject a disc while an app is reading it. This may happen with Music, DVD Player, Finder, or a photo or video app.
Save any work before closing apps. If you see a message saying the disc is in use, note the app named in that message.
- Save any document or project that is currently open.
- Close every window showing files from the CD or DVD.
- Quit the app named in any disc-in-use message.
- Try the Finder Eject symbol again.
Use the restart-and-hold method
If ordinary commands fail, restart the Mac while holding down the mouse or trackpad button. This gives macOS an eject request before your usual apps reopen.
This looks more dramatic than it is. You are not erasing anything or resetting the Mac. You are simply restarting it with one button held down.
- Save all open work.
- Choose Restart from the Apple menu.
- Confirm the restart if your Mac asks.
- Press and hold the main mouse button or the trackpad click as soon as the screen goes dark.
- Keep holding the button while the Mac starts up.
- Release the button after the disc ejects or the login screen appears.
If the disc still will not come out
Stop if the drive repeatedly clicks, grinds, or tries to eject without releasing the disc. The disc may be warped, have a loose label, or be mechanically trapped.
Do not slide a card, knife, paper clip, or tweezers into the slot. Do not shake the drive. At this point, disconnect it only after shutting down the Mac, then arrange service through Apple or an authorized repair provider.
- Shut down the Mac from the Apple menu.
- Disconnect the SuperDrive after the Mac has fully powered off.
- Take the SuperDrive to Apple or an authorized service provider if the disc remains trapped.
Bottom line
Start with Finder or the menu-bar Eject control, then close disc-using apps and try the restart-and-hold method. If the disc remains trapped, skip the tools and prying—you have safely reached the point where the SuperDrive needs service.
Sources
Steps grounded in the guidance above; wording and walkthrough are PcFixin' originals.
Need a hand?
If you'd rather someone just take care of it, PcFixin' can help — residential or commercial.
About PcFixin'