
How to Set Up a Hardware Security Key on Your Mac
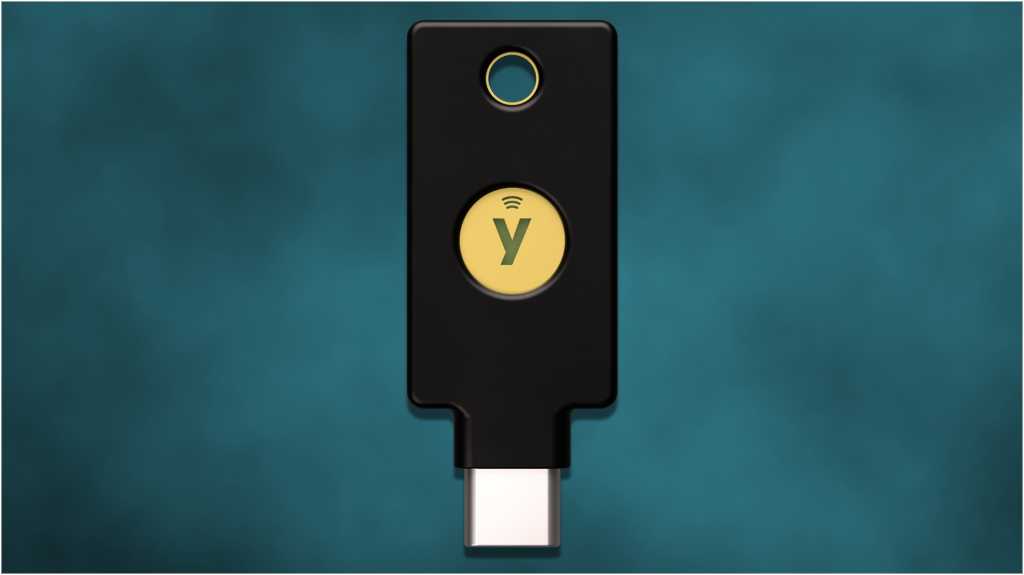
Add a physical security key to your Apple Account so a stolen password alone is not enough for a scammer to sign in.
What a hardware security key does
A hardware security key is a small physical device that proves you are really you. Depending on the model, you may plug it into your Mac, touch it, click it, or hold it near the device.
For your Apple Account, the key replaces the usual six-digit verification code. This is a stronger form of two-factor authentication, or 2FA. Two-factor authentication means you need two things to sign in: your password and another form of proof.
That matters during a phishing attack. Phishing is when a scammer creates a convincing fake sign-in page to steal your password. Even if the password gets captured, the scammer should not be able to complete the Apple Account sign-in without your physical key.
This is an optional advanced security feature. It is powerful, but it comes with an important responsibility: you must keep access to a trusted Apple device or one of your registered keys.
Before you start
Apple requires at least two security keys. The second one is your backup if the first is lost, damaged, or stolen. You can register as many as six.
Choose keys that work with the Apple devices you regularly use. Think about the connectors and wireless features available on your Mac, iPhone, and iPad. A key that works only with one device may become inconvenient later.
Do not keep both keys together. If the bag containing your Mac and both keys disappears, the backup will not help. Apple warns that losing every trusted device and every registered key could permanently lock you out of your account.
- Obtain at least two security keys that work with the Apple devices you use.
- Place one key in a secure backup location away from your Mac.
- Update your Apple devices if System Settings says an update is required.
- Sign out of any old or inactive Apple devices if Apple asks you to do so.
Set up the security keys on your Mac
These directions assume you are using a recent version of macOS, such as macOS Ventura or later. Apple sometimes changes labels or spacing between versions, but the reliable path begins in System Settings.
The screens may look serious because this setting affects account recovery. Take your time. Your Mac will guide you through registering each physical key.
- Open the Apple menu in the upper-left corner of the screen.
- Click System Settings.
- Click your name at the top of the sidebar.
- Click Sign In if your name does not appear.
- Enter your Apple Account email address or phone number if prompted.
- Enter your Apple Account password if prompted.
- Click Sign-In & Security.
- Click Two-Factor Authentication.
- Go to the Security Keys section.
- Click Set Up.
- Follow the onscreen instructions to register your first key.
- Follow the onscreen instructions to register your backup key.
- Store the backup key in the separate safe location you chose earlier.
Use the key when Apple asks for it
After setup, Apple may request a security key when you sign in to your Apple Account or make certain account changes. What you do depends on the kind of key you bought.
A wired key is inserted into the appropriate port. Another model may ask for a touch or button press. A wireless key may need to be brought close to the device. Follow the message on the screen rather than guessing.
If a key stops working, try your registered backup. Do not remove or discard a registered key until you know another trusted device or key still gives you access.
This Apple setting protects your Apple Account. It does not automatically add the key to your email, banking, social media, or other accounts. Those services must support hardware security keys, and each one must be configured separately in its own security settings.
- Begin signing in to your Apple Account normally.
- Enter your Apple Account password when requested.
- Insert, touch, click, or bring the security key close when prompted.
- Follow the remaining instructions shown on the device.
A simple backup plan
Keep your everyday key somewhere dependable, such as a key ring or a small protected pocket. Keep the second key somewhere separate and secure. Tell a trusted family member where the backup is stored if that fits your situation, but never give anyone your password.
You have now added something a remote scammer cannot simply guess or copy from a leaked password list. That small physical key gives your Apple Account a substantial extra barrier.
Bottom line
A hardware security key makes a stolen Apple Account password far less useful to a scammer. Register at least two keys, keep the backup separate, and protect both as carefully as you would protect your house keys.
Sources
Steps grounded in the guidance above; wording and walkthrough are PcFixin' originals.
Need a hand?
If you'd rather someone just take care of it, PcFixin' can help — residential or commercial.
About PcFixin'